Many years ago, when I was in my 20’s, I decided to make some of the Christmas presents I would give to my family. I made birdseye maple butcher-blocks for my sisters, a mahogany wall clock for my Mom and Dad and large doll houses for my nieces. It was fun to do…much more so than shopping! This year, I decided to revisit some of that fun and use my configurable mold to create some presents for friends and family.
Here’s what I made and how…
4-Candle Concrete Tea Light Holders
I had made some simple tea light holders which I showed you in part 3 of this series. I wanted to make something a little more elegant. I made 4 of these.
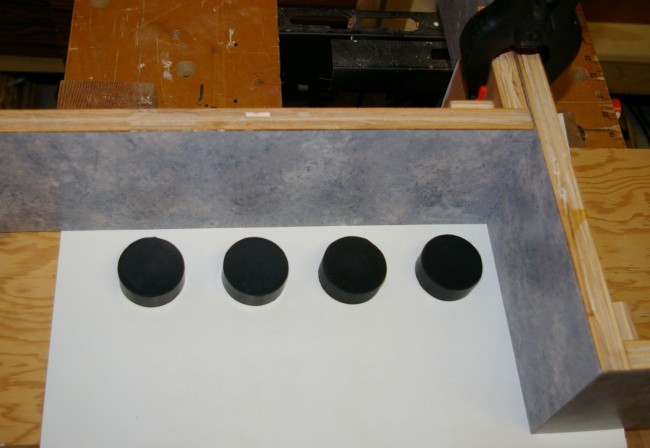
To make these, I used the configurable mold and four 2-inch round anti-vibration pads I purchased from Princess Auto. They sell them in bags of 4 for around $15.00. Here is a picture of how I did it. The picture shows the set up with only 2 sides of the configurable mold in place. The pads are passed through 4 holes in the silicone rubber sheet and plywood then bolted down tight. Just add the other 2 sides, clamp them down (as per Concrete Creations: A Configurable Mold) and you are ready to go!
Here is a picture of the anti-vibration pads. They come with a stud, a nut and a lock washer. Just remember to spray a bit of release agent on the pads. They come out pretty easy with a bit of jiggling/rocking.
Concrete Flower Floater
I made this one for Collie…my wife! I used a large glass gardening bowl that I purchased from Michaels. It is meant to be filled with water to float large flowers, like Camellias. This one was a bit tricky because I needed to press the glass bowl tight to the silicone sheet, but I came up with a solution that worked very well. If you are wondering how big this is, it is 9 inches square, 4 inches tall and the hole is 6 inches across.
Alas, I did not take pictures of the mold for this. However, the image below should help you understand how I did it. The white bowl substitutes for the glass bowl. I made a clamp with a bolt through the middle that presses the bowl down tight to the silicone sheet. The bolt has a piece of plastic tubing around it so it will easily pull out of the cured concrete, otherwise the threads would get stuck in there. The green masking tape is placed around the tube for a pouring reference. In this case, the bottom thickness is 1/2 an inch. Again, I am only showing 2 sides of the configurable mold so you get a good look at how this comes together. Just add the other 2 sides, clamp it down and pour your concrete.
Square Candle Holders / Flower Floaters
Using the same technique as the flower floater, I made a few square candle holders. The candles (which also came from Michaels) are in glass jars and are pressed down into the silicone sheet the same way as shown above. When the candles have been used up, you could pour a new candle into the glass jar or clean it out and use it as a smaller floater. One tip if you decide to try this…the concrete gets pretty hot as it cures and will melt the sides of the candle just enough that the candle will slip down onto the silicone. So, when you take it apart, flip the whole thing upside down first so the candle does not pop out and make a mess. You can then gently press the candle back down into the glass container.
Here is a picture of the type of candle I used.

At the time of writing this, I did not have a picture of the finished product, as I did not take one. But, I will go visit the friend I gave one to and take a pic and then add it in here when I have it.
Snowman Fridge Magnets and Ornaments
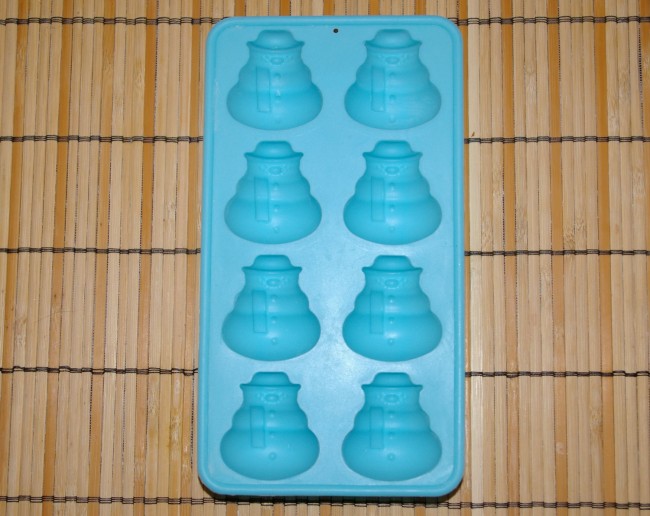
While shopping at Home Hardware, I happened upon a really cool silicone mold for making snowman ice-cubes. It was only $5.00 and I just HAD to have it.
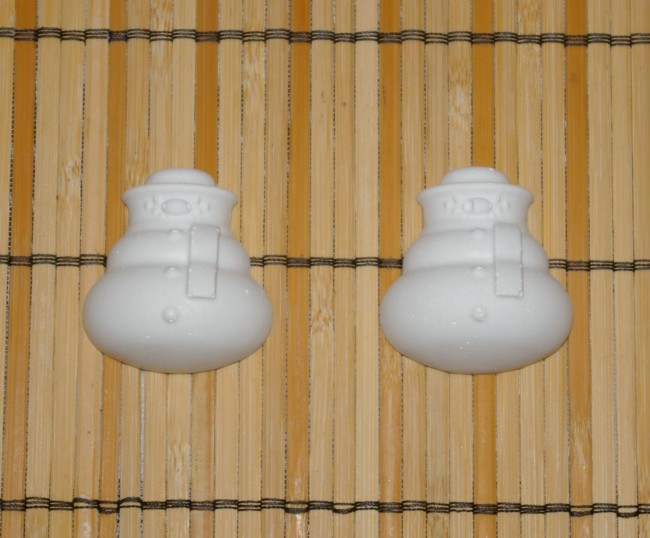
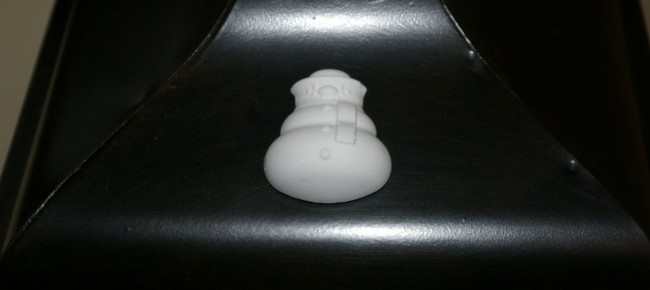
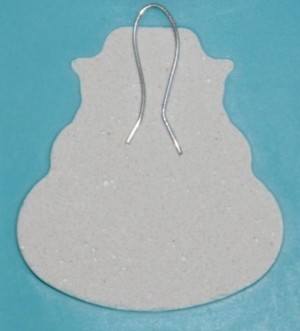
Here is what comes out of that mold…little concrete snowmen!
I made 8 fridge magnets by gluing neodymium disc (super strong!) magnets onto the back of the snowmen. I used PC-11 paste epoxy to glue the magnets to the concrete. If you have never used PC-11, it is an amazing product!
For the tree ornaments, I bent little hooks and then glued 2 snowmen back to back. Next time I do this, I think Colleen will be painting them up just a little bit to add a splash of color to them.
Making your own presents is very rewarding. All of these gifts were well received and fun to make and give!
I hope this post will give you some ideas on different ways to use concrete. If you make something, PLEASE come back and share it with us!
Next up, in part 6, I will write about my configurable pillar mold! See you then 🙂
Read more in this series:
Part 4 – Concrete Creations: A Configurable Mold!
Part 6 – Concrete Creations: Making Styrofoam Cavities
Photo Credits
All photos by Gil Namur – All Rights Reserved






I am so happy that I happened upon this post while looking for creative ideas for Christmas which is coming soon!
Thank you for this. Very instructive!
Best
Tyler
Hi Tyler!
Thanks for taking the time to leave a comment. Glad that it has helped and hope you come back and share what you come up with for Christmas 🙂
Cheers,
Gil
Hi there, I’m absolutely loving these! I’m on a similar mission, but finding it very difficult to find a material that has such a fine consistency. I’m based in the UK and it would seem that we don’t have any of the ‘rapid-setting concrete’ products you guys seem to have on that side of the Atlantic. Our concrete mixes come with chunky bits of aggregate, and as an alternative I’ve played around with mortar but it seems to be pretty crumbly and not structurally as sound.. Is there maybe any advice you could give with regards to products that I might be able to get my hands on?
Many thanks and keep up the good work!
Hi Marleon,
Thanks for your comment. I am so glad this has been useful to you. Have you asked the concrete shops about Polymer Modified concrete? They might be able to find something.
Other than that, I would try some Counter Top mixes. They have fiber in the vs large aggregate and will do a nice job. They are not fast setting though.
Only other thing I could suggest is that you reach out to http://starpatchconcrete.com/
They have a contact form. This is where I get the Kast Krete ( mentioned here – http://lifeasahuman.com/2014/arts-culture/creativity/concrete-creations-a-thinner-mix/ )
Let them know Gil sent you along 😉 They might be able to suggest things!
Cheers,
Gil